Advertisement
Jan 01, 2000 By Sana
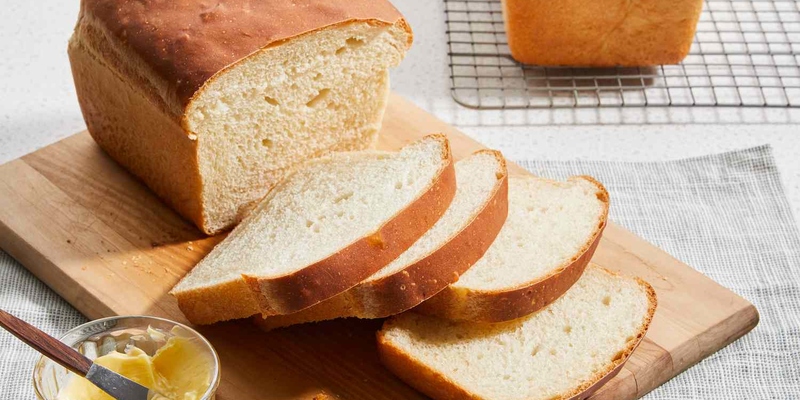
When you make bread at home, sometimes it turns out flat and dense, but other times it rises perfectly. Do you want to know the reason behind this?
It's all about understanding the science of bread rising. Bread needs to rise so that it becomes light and airy textured.
Here are six secrets for making perfect textured bread. When you follow these tips, your bread will rise every time.
Want to improve your bread-making skills? Then read more!
Understanding Yeast: The Foundation of Rising Bread
Yeast is the magic ingredient that brings your bread to life. But not all yeasts are created equal. There are three main types: fresh, fast-acting dried (also called 'easy blend'), and active dried. Each has its quirks and uses.
Most home bakers find fast-acting dried yeast the easiest to work with. It's also a favorite for bread machines. But no matter which type you choose, proper storage is key.
Keep your yeast up-to-date for the best results. Dried yeast can last a few months, while fresh yeast needs refrigeration and only lasts a week or two. You can freeze fresh yeast for up to three months if needed.
Remember, old yeast won't work, leaving you with a sad, flat loaf. So always check those expiration dates before you start baking. Your bread's rise depends on it!
The Role of Gluten in Bread Rising
Gluten is the unsung hero of bread baking. It's what gives your dough its stretchy, elastic quality. When you knead bread, you develop the gluten network that traps air bubbles and helps your bread rise.
Different flours have varying amounts of gluten. Strong bread flours, especially those labeled "extra-strong" or "Canadian," naturally have more gluten. This can give you a better rise, especially when making wholemeal bread, which sometimes struggles to rise, as well as white bread.
Kneading is crucial for gluten development. By hand, it usually takes about 10 minutes of stretching and folding to get the right texture. You'll know it's ready when the dough feels smooth and can stretch without tearing.
Be careful not to overdo it if using a mixer, though. Over-kneading can stretch the gluten too far, resulting in a flat, heavy loaf. When in doubt, finish kneading by hand.
6 Secrets to Make Your Bread Rise Perfectly
Now that we understand the basics of yeast and gluten let's discuss six secrets that are the key to achieving that perfect rise every time you bake. Each tip builds on the last, creating a foolproof strategy for beautifully risen bread.
Secret 1: Choose the Right Flour
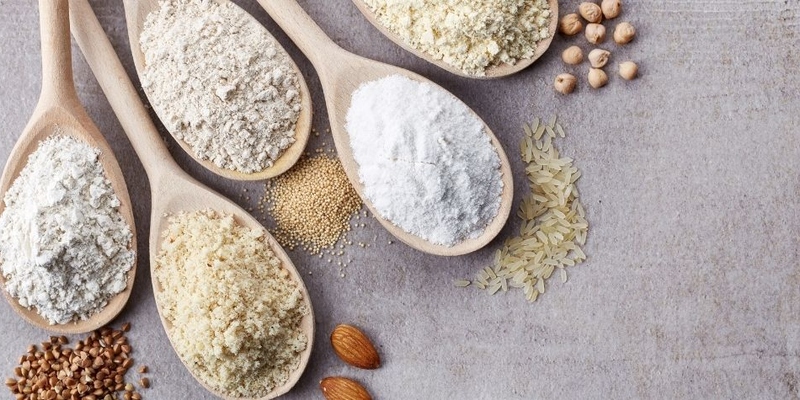
The foundation of any good bread is the flour you use. Different flours have varying protein contents, directly affecting gluten development and how well your bread rises.
Bread flour, with its higher protein content (usually around 12-14%), is ideal for most bread recipes. It develops strong gluten networks that trap air bubbles, leading to a better rise and texture.
Try mixing in some extra-strong or Canadian flour for whole wheat bread, which can be trickier to get a good rise. These flours are naturally higher in gluten and can give your whole wheat loaves that extra lift they often need.
Experiment with different ratios until you find the perfect balance for your taste and desired rise.
Secret 2: Master the Art of Kneading
Kneading is where the magic happens in bread making. This process develops the gluten strands, creating a network to trap air bubbles and give your bread structure. When kneading by hand, aim for about 10 minutes of continuous work.
Hold the dough with one hand and stretch it out over the work surface, then bring it back to a ball and repeat with the other hand.
The dough is ready when it feels smooth and elastic and can easily stretch without tearing. If you're using a stand mixer, be cautious not to over-knead.
Over-kneading can break down the gluten structure, resulting in a dense, heavy loaf. A good rule of thumb is to knead with a machine for about 5-7 minutes, then finish by hand to get a feel for the dough's consistency.
Secret 3: Perfect Your Proofing Environment
The environment in which your dough rises, or proofs, is crucial in how well it rises. Generally, a warm, humid environment is ideal for yeast activity and dough rising. Aim for a temperature around 75-80F (24-27C) for optimal results.
To create a perfect proofing environment, you can:
- Use your oven with just the light on
- Place the dough in a microwave with a cup of hot water (don't turn the microwave on!)
- Use a proofing box if you bake frequently
Always cover your dough while it's rising. A light coating of oil or oiled plastic wrap works well to prevent the surface from drying out and forming skin, which can inhibit rise.
For deeper flavor development, consider a slow rise in the refrigerator overnight. This method, known as cold fermentation, allows more complex flavors to develop while the dough slowly rises.
Secret 4: Time It Right
Timing is everything when it comes to bread rising. Most recipes call for the dough to double in size, typically taking 1-1.5 hours.
However, this can vary based on room temperature, humidity, and the recipe. Don't just set a timer and forget about it, keep an eye on your dough.
To check if your dough has risen enough, gently press it with your fingertip. If the indentation fills back quickly, it needs more time. If it stays dented, it's ready for the next step. If it deflates, you've left it too long.
Remember, a longer rise isn't always better. Overproofing can lead to a collapsed structure and flatbread. It's better to be slightly underproof than overproof.
Secret 5: The Importance of Proper Shaping
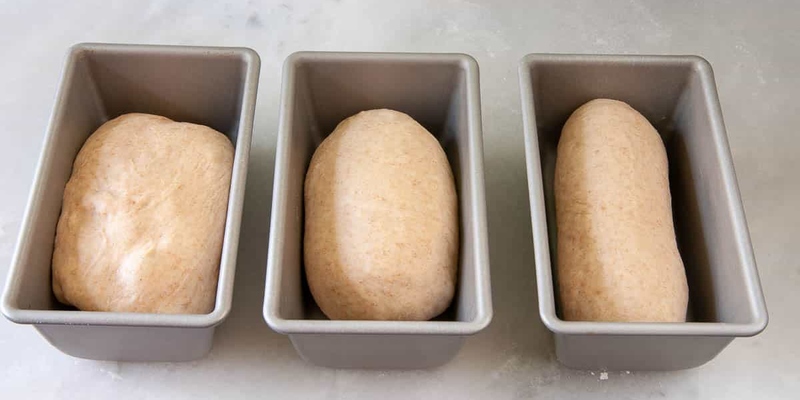
Shaping isn't just about making your bread look pretty, it's crucial for even rising and texture. When you shape your dough, you redistribute the air bubbles created during the first rise.
Start by gently pressing out the air from your risen dough. Then, shape it according to your recipe. Fold the dough onto itself for a basic loaf, creating surface tension. This tension helps the dough hold its shape as it rises and bakes.
For breads with toppings, give them two rises: once before shaping and adding toppings and once after. This ensures the toppings don't interfere with the rise.
Secret 6: Avoid Over-proofing
While under-proofing results in dense bread, over-proofing can be just as problematic. When dough proofs for too long, the gluten structure weakens, and the trapped gases escape. The result? A flat, dense loaf with a coarse texture.
To avoid over-proofing:
- Set a timer for the minimum proofing time suggested in your recipe
- Check your dough regularly, especially in warm conditions
- Learn to recognize the signs of properly proofed dough: it should be puffy, about doubled in size, and spring back slowly when poked.
- If you're not ready to bake, you can slow down proofing by moving the dough to a cooler spot.
Remember, it's always better to bake slightly under-proofed bread than over-proofed. The under-proofed dough will still get a good rise in the oven, but the over-proofed dough will collapse.
Conclusion
Mastering the art of making bread rise perfectly is a journey that combines science, patience, & a bit of intuition. By applying these six secrets, you'll be well on your way to baking beautiful, well-risen loaves every time.
Remember, practice makes perfect, & each batch of bread is an opportunity to refine your skills. Don't be discouraged if your first attempts aren't picture-perfect; even experienced bakers sometimes face challenges.
The key is to keep experimenting, observe your dough closely, and adjust as needed. With time, you'll develop a feel for the process beyond following recipes.
So roll up your sleeves, dust your counters with flour, and prepare to create bakery-worthy bread in your kitchen!
-
6 Smart Tips for Planning a Week of Healthy Meals
Jan 01, 2000
-

5 Tricks to Add Creaminess to Your Dairy-Free Dishes
Aug 19, 2024
-

The Ultimate Guide to Cooking Thai Green Curry at Home
Jan 01, 2000
-

Why Yuzu Is The New Citrus Star In Global Cuisine
Sep 09, 2024
-

7 Proven Techniques to Prevent Cheesecake Cracks for a Smooth Finish
Aug 13, 2024
-

What Makes Botana Sauces And Chili Oils 2024’s Hottest Condiments?
Sep 09, 2024
-

Why Fusion Cuisine Is The Highlight Of 2024 Dining Trends
Sep 09, 2024
-

7 Secrets to Making the Perfect Greek Moussaka
Aug 19, 2024
-

5 Tips for Making Creamy and Delicious Hot Chocolate
Aug 19, 2024
-
5 Best Ways to Store Fresh Herbs and Keep Them Fresh Longer
Jan 01, 2000
-

6 Secrets to Make Your Bread Rise Perfectly
Jan 01, 2000
-

Why Fancy Cookies Are The Affordable Treat Of The Year
Sep 09, 2024
-
10 Genius Tips to Organize Your Pantry for Hassle-Free Meal Prep
Jan 01, 2000
-
4 Simple Tricks to Avoid Soggy Pie Crusts Every Time
Aug 13, 2024